
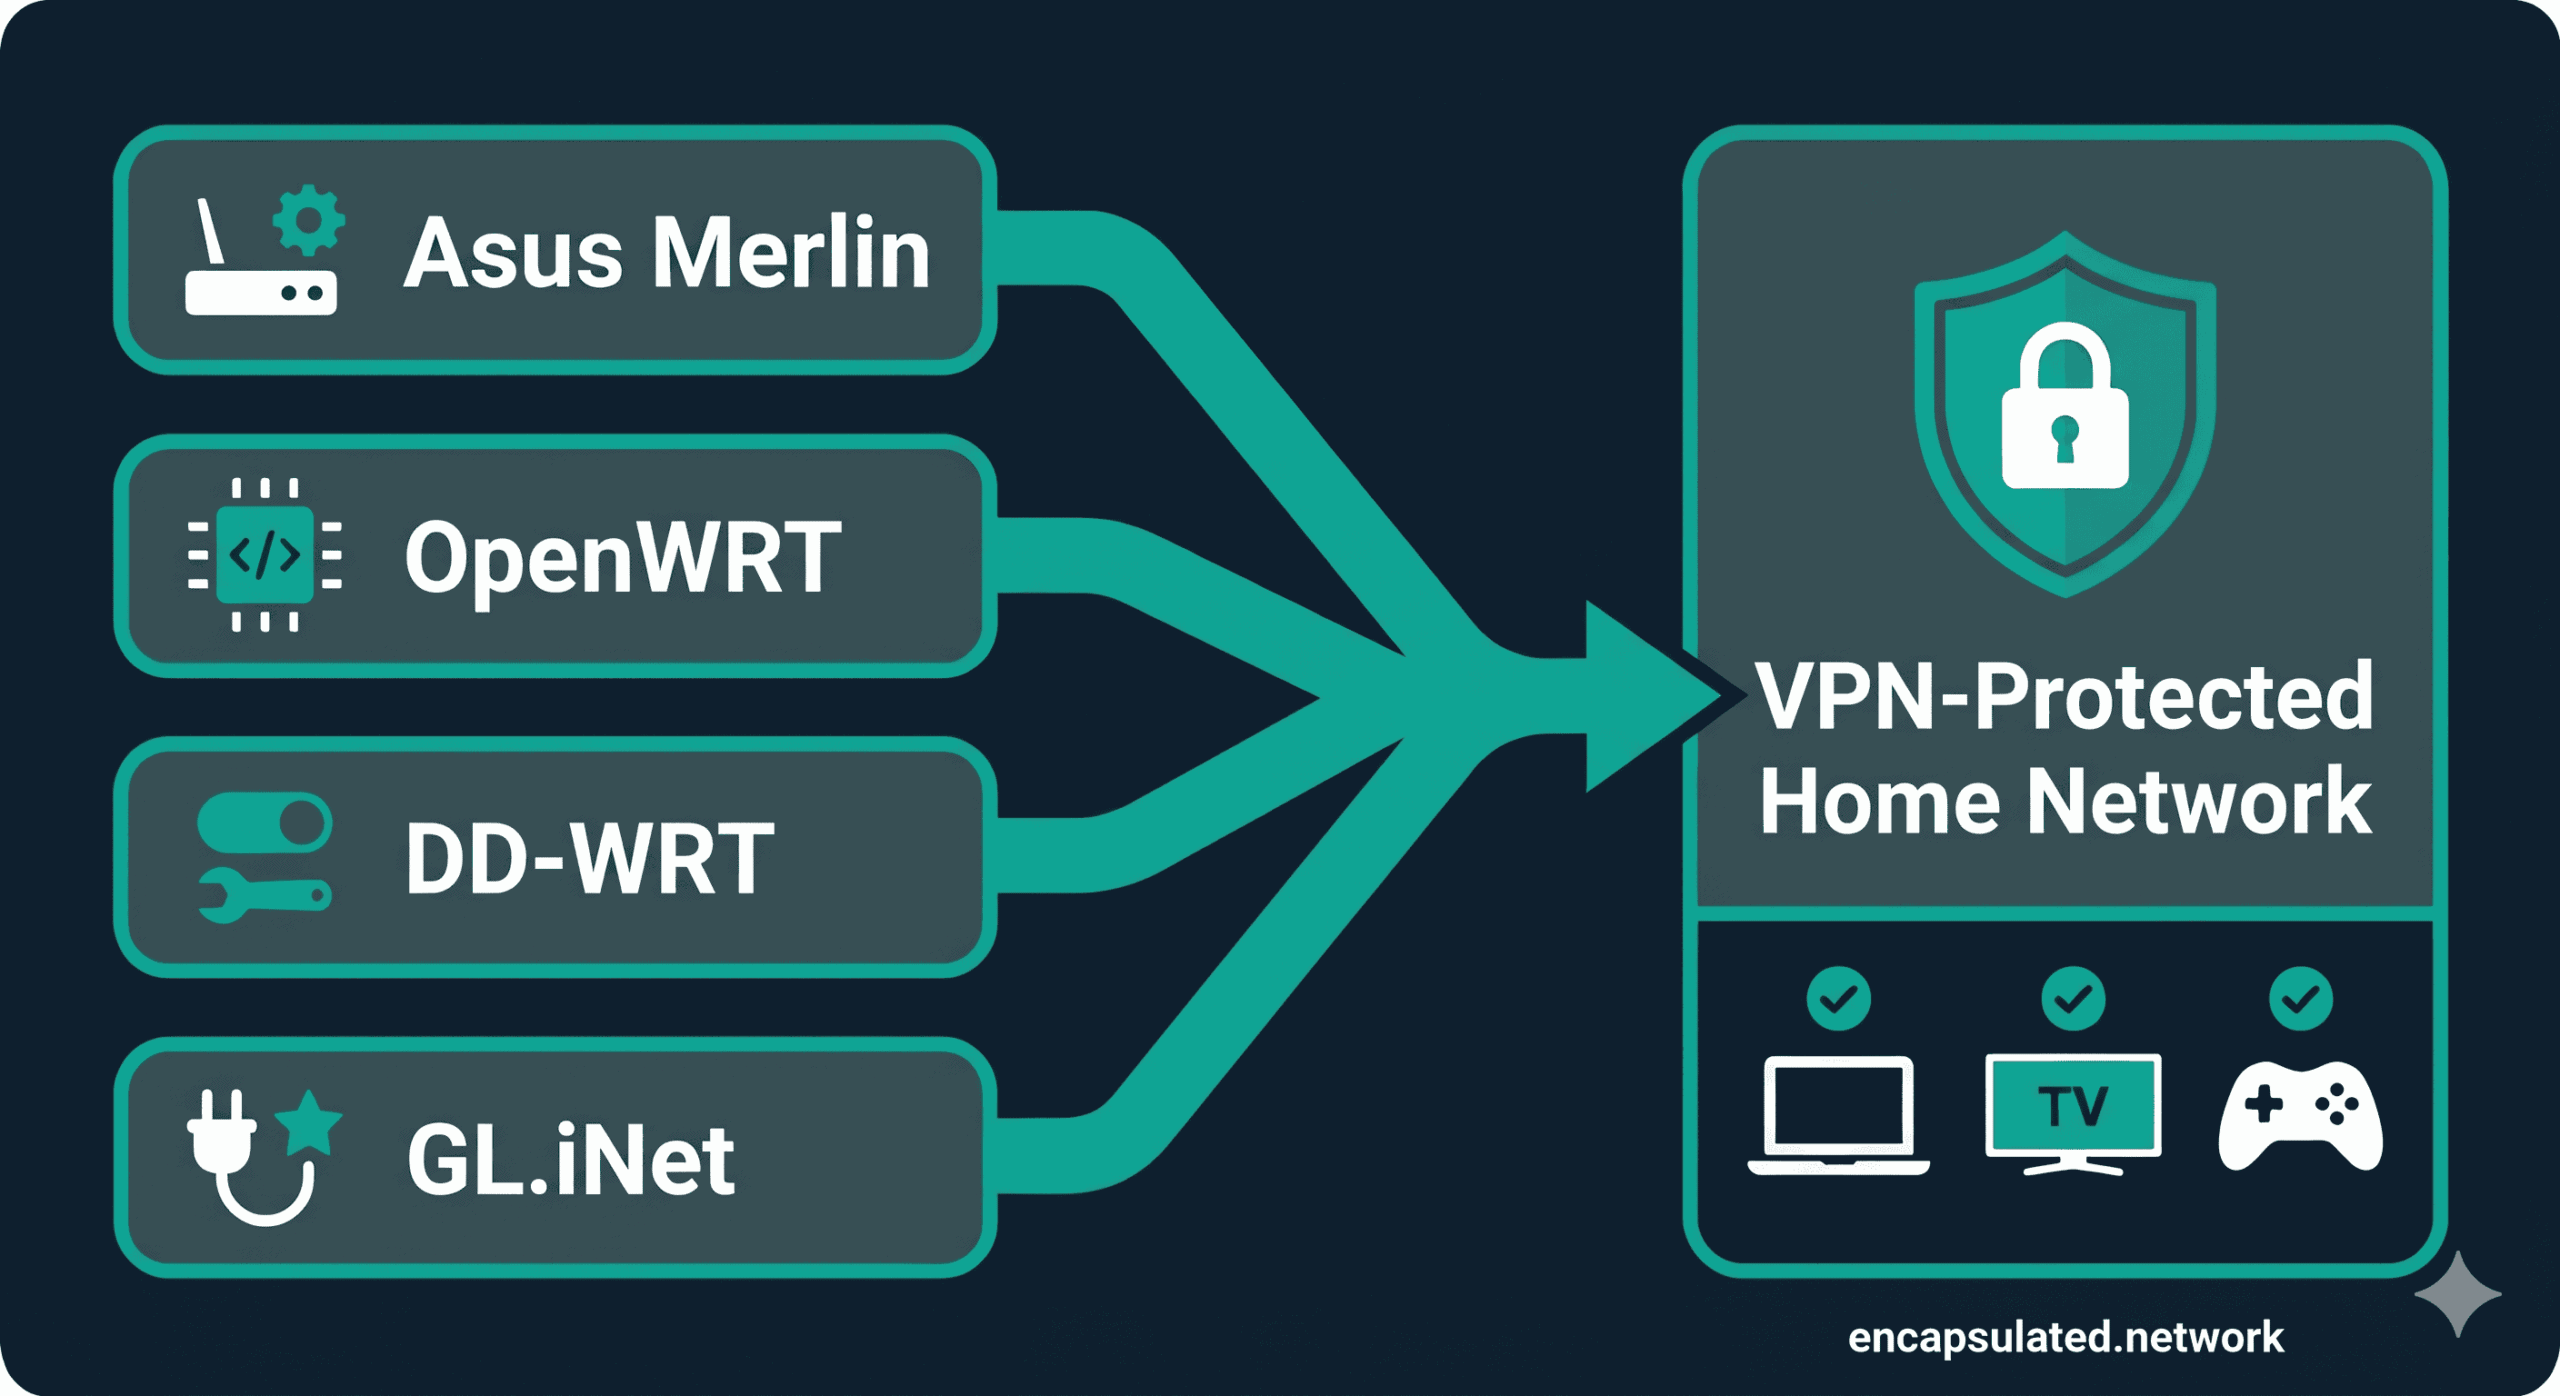
Most VPN guides stop at your phone or laptop. Install the app, connect, done. A router VPN takes a different approach: one configuration protects every device on your network simultaneously — including the ones that cannot run a VPN app at all. Your smart TV. Your gaming console. Your smart home devices. Every device that passes through that router gets covered without any per-device setup.
This guide covers four firmware paths: Asus Merlin, GL.iNet, OpenWRT, and DD-WRT. It is provider-neutral — the steps apply regardless of which VPN service you use. If you are new to VPNs and want to understand what the tunnel actually does before configuring one, start with our guide to how VPNs work.
| Router VPN | Device-by-Device VPN App | |
|---|---|---|
| Coverage | Every device on the network automatically | Only devices with the app installed |
| Devices without app support | ✅ Covered — smart TVs, consoles, IoT sensors | ❌ Not covered |
| Per-device control | Limited — requires firmware-level configuration | Full — toggle per device instantly in the app |
| Setup complexity | High — one-time, firmware-dependent | Low — app install per device |
| Performance overhead | Centralised — router CPU handles all encryption | Distributed — each device handles its own |
| Battery drain on mobile | None — encryption offloaded from device | Yes — VPN runs on device battery |
Should You Put a VPN on Your Router?
Universal Device Protection
The primary reason to run a VPN at the router level is the devices that cannot run one any other way. A PlayStation or Xbox cannot install a VPN app. Neither can your smart TV, your NAS drive, your smart home hub, or your IP camera. These devices connect to your router and go directly to the internet — no encryption layer, no IP masking, no protection.
Amazon Fire TV Sticks running Vega OS — Amazon’s newer Linux-based platform, shipping on the 4K Select and HD (2026) models — fall into the same category when a provider has not yet released a Vega-native app. Sideloading is not available on Vega OS, which makes the router the only path to VPN protection for those devices. For a full breakdown of VPN setup on Firestick across all three available methods — including exactly when the router becomes the right choice — see the Firestick VPN setup guide.
A router-level VPN changes that. Every device that connects through the router — regardless of what OS it runs or whether it supports VPN apps — has its traffic routed through the encrypted tunnel automatically. You configure it once. Every device benefits without touching it individually.
The other benefit is permanence. Devices on a router VPN are always protected when they connect. There is no step where a user forgets to start the app. There is no phone that slips onto a network unprotected because someone wanted to save battery. The tunnel is on at the infrastructure level.
The Hardware Bottleneck: Set Honest Expectations
Before choosing this path, understand the constraint: your router’s CPU does the encryption and decryption work for every connected device simultaneously. On a modern smartphone, a powerful SoC with hardware cryptographic acceleration handles this easily. On a consumer router, that same workload can hit a hard ceiling.
The practical impact depends heavily on your hardware class:
| Hardware Class | Example Models | Expected VPN Throughput | Best For |
|---|---|---|---|
| Budget (< $80) | TP-Link Archer A7, older Asus RT-N series | Modest — may struggle on connections above 100 Mbps | Low-bandwidth households, basic protection |
| Mid-range ($80–$200) | Asus RT-AX55, GL.iNet Slate AX (GL-AXT1800) | Solid — handles 100–300 Mbps range comfortably with WireGuard | Most households, standard fibre connections |
| High-end ($200+) | Asus RT-BE88U, GL.iNet Flint 2 (GL-MT6000) | Strong — capable on 500 Mbps+ connections with WireGuard | Gigabit connections, multiple simultaneous heavy users |
The protocol choice compounds the hardware factor significantly. WireGuard is substantially more efficient than OpenVPN on router hardware — it runs in the operating system’s kernel rather than as a user-space application, eliminating the context-switch overhead that OpenVPN cannot avoid. On the same router hardware, WireGuard consistently achieves meaningfully higher throughput with lower CPU load. This is the primary reason to choose WireGuard on a router wherever your firmware supports it. For a full technical comparison of why, see our WireGuard vs OpenVPN guide.
If your internet connection is 100 Mbps or below, a mid-range or better router will handle VPN throughput without a noticeable bottleneck. If you have gigabit fibre and care about VPN speeds approaching your line rate, your hardware choice becomes the deciding factor.
One benefit that is easy to overlook: a router VPN eliminates the per-device battery drain that comes with running a VPN app on a phone or tablet. The encryption processing is offloaded entirely to the router. Your devices do nothing beyond sending and receiving traffic as normal.
Risks and Realities
The most common fear before flashing a router is bricking it. It is a real risk, but a manageable one.
The 8/64 rule: any router you intend to flash with custom firmware needs at least 8 MB of flash storage and 64 MB of RAM. These are not comfortable minimums — they are absolute floors. As of OpenWRT’s 23.05 release, devices with less than 64 MB RAM are no longer officially supported or built for. On 8 MB flash, the base firmware image leaves minimal space for additional packages — there may be no room for WireGuard at all after the base installation. Treat 8/64 as the lowest bar to clear before even researching the firmware options for a given router.
Warranty implications: flashing custom firmware can void the warranty on some models. Not a universal rule — some manufacturers are permissive about it, others are not. Check your specific manufacturer’s policy before proceeding.
On the bricking risk itself: if you flash incompatible firmware, the result is almost always a soft brick — the router stops responding but can be recovered via TFTP or the manufacturer’s recovery mode. Hard bricks that permanently destroy hardware are rare and usually caused by power interruption mid-flash. Look up your router’s recovery procedure before you flash it, not after.
Stock firmware limitations: if flashing feels like too much, check whether your existing router supports a native VPN client without any firmware changes. Several Asus models and all GL.iNet routers do. Many stock ISP routers do not.
Choose Your Setup Path
Pre-configured / Plug-and-Play
If you want router VPN protection without any firmware work, pre-configured routers remove all the technical steps. ExpressVPN’s Aircove ships with the VPN client built in. FlashRouters sells consumer routers pre-flashed with DD-WRT or FreshTomato and configured for the major providers. InvizBox 2 is a purpose-built privacy router.
The trade-off: highest cost per level of capability, and typically locked to a specific provider or firmware configuration. This is the right path if the setup complexity of the other options is genuinely a barrier.
VPN-Ready Routers (No Flashing Required)
Several router manufacturers ship hardware with native WireGuard and OpenVPN VPN client support — no firmware replacement needed.
Asus with Asuswrt-Merlin: Asus routers running Asuswrt-Merlin (a third-party enhanced firmware based on the stock Asus firmware) have a VPN Clients section under Advanced Settings. WireGuard client support was introduced in Asuswrt-Merlin version 388.1. As of 2026, there are 19+ supported models including many Wi-Fi 6 (AX) models — the RT-AX58U, RT-AX86U, RT-AX88U, GT-AX11000, RT-AX88U Pro, RT-BE88U, RT-BE86U, RT-BE92U, and more. If you already own an Asus AX-series router, there is a good chance it is already supported. Always verify your specific model at asuswrt-merlin.net before proceeding.
GL.iNet: GL.iNet routers run a custom OpenWRT-based firmware with a purpose-built VPN client interface. The GL.iNet Flint 2 (GL-MT6000) is the current high-end model as of 2026, with native WireGuard support in the admin panel. GL.iNet hardware is the most accessible path for users who want no-flash VPN configuration with a clean UI.
Custom Firmware (DIY)
OpenWRT and DD-WRT give you the most control and run on the widest range of hardware — including older routers that are no longer supported by their manufacturers. The trade-off is complexity: both require familiarity with network configuration, and OpenWRT specifically involves package management via the command line.
Before starting either path:
- Verify your router is on the supported device list — openwrt.org/toh for OpenWRT, dd-wrt.com/wiki for DD-WRT.
- Confirm your hardware meets the 8/64 rule (8 MB flash, 64 MB RAM). Check the device page on the supported device list — these values are listed per model.
- Download the firmware image for your specific hardware revision. The same router model can have multiple hardware revisions (e.g., v1 vs v2) that require different images. Using the wrong image is the primary cause of flash failures.
A note on FreshTomato: the original Tomato firmware and most of its forks (Tomato by Shibby, AdvancedTomato) are discontinued. FreshTomato is the sole actively maintained fork as of 2026, receiving regular releases including WireGuard support and security patches. This guide does not cover FreshTomato as a primary setup path due to its narrower hardware support — it is limited to Broadcom-based routers — but it is worth investigating if you have compatible hardware and want a Tomato-lineage option.
WireGuard or OpenVPN — Which to Use on a Router
WireGuard: The Default Choice in 2026
WireGuard runs in the operating system’s kernel space rather than as a user-space application. On a desktop or server, this performance difference is meaningful. On a consumer router — where the CPU is already under more constraint — it is the deciding factor.
OpenVPN processes packets in user space, which requires every packet to cross the boundary between kernel and user space. On a router serving an entire household simultaneously, that overhead accumulates quickly. WireGuard eliminates it. The result is substantially higher throughput and lower CPU utilisation for the same VPN workload — which is exactly what you need on hardware that is serving multiple devices at once.
WireGuard also uses a modern, fixed cryptographic suite — ChaCha20-Poly1305 for authenticated encryption, Curve25519 for key exchange, BLAKE2s for hashing, and HKDF for key derivation — with no legacy cipher negotiation and no configuration surface to misconfigure. For a complete technical breakdown of the WireGuard vs OpenVPN trade-offs, including the hardware AES context that changes the desktop speed equation (but matters less on consumer router hardware), see our WireGuard vs OpenVPN guide.
OpenVPN: Two Cases Where It Still Wins
OpenVPN on a router makes sense in two specific situations in 2026:
1. Your network blocks WireGuard. WireGuard uses UDP exclusively. A network administrator — or a government-level firewall — can block it by dropping non-TCP traffic on non-standard ports. OpenVPN can run over TCP on port 443, the same port used by standard HTTPS. To most basic firewall rules, that traffic is indistinguishable from a normal web connection. If you are in a restrictive environment where WireGuard connections fail, OpenVPN over TCP 443 is the fallback. Note that deep packet inspection can still identify OpenVPN traffic; TCP 443 bypasses basic rules, not sophisticated DPI.
2. Your firmware does not support WireGuard. Older DD-WRT builds, some stock firmwares, and older hardware may support OpenVPN only. Use what your firmware actually supports rather than trying to force WireGuard onto unsupported infrastructure.
For everything else in 2026, WireGuard is the better choice on a router. The remainder of the setup guides below prioritise WireGuard and note where OpenVPN is the relevant option.
Step-by-Step Setup Guides
Find your firmware path and follow that section. Each guide is self-contained.
the destination is the same: every device on your network behind the tunnel.
Asus / Asuswrt-Merlin: WireGuard via VPN Director
Requirements: an Asus router confirmed on the Asuswrt-Merlin supported device list — as of 2026, this includes 19+ models across the AX and BE series (RT-AX58U, RT-AX86U, RT-AX88U, GT-AX11000, RT-BE88U, RT-BE86U, RT-BE92U, and more). Verify at asuswrt-merlin.net. Asuswrt-Merlin firmware version 388.1 or later for WireGuard client support.
Setting up the WireGuard client:
- In the Merlin web interface, navigate to Advanced Settings → VPN → VPN Client.
- Click Add profile and select WireGuard as the protocol.
- Import your VPN provider’s
.confconfiguration file, or enter the parameters manually (private key, server public key, endpoint, and allowed IPs). Your provider’s setup documentation will specify which fields to use. - Enable the connection and confirm the status shows Connected.
- Proceed to the verification section below to confirm the tunnel is working.
Configuring VPN Director for per-device routing:
VPN Director is the Asuswrt-Merlin feature that lets you specify which devices route through the VPN and which connect directly to the WAN. It is more granular than the stock Asus VPN Fusion feature — it routes by local IP address and/or remote destination IP (in CIDR notation), not by device selection alone.
One important requirement: VPN Director routes by IP address, not by MAC address. Before creating rules for specific devices, you need to assign those devices static DHCP leases — otherwise their IP addresses may change and the routing rules will stop matching. Assign static leases first under LAN → DHCP Server, then return to VPN Director to create rules using those fixed IPs.
To configure: navigate to Advanced Settings → VPN → VPN Director. Add rules specifying the source IP or subnet to route through the VPN interface. Devices not matched by any rule follow the default routing set in the VPN Client settings.
VPN Director vs VPN Fusion: these are separate, mutually exclusive features. VPN Fusion is a stock Asus firmware feature that routes per device. VPN Director is the Merlin replacement — it adds source and destination IP filtering for more precise control. Asuswrt-Merlin replaces VPN Fusion with VPN Director. They do not coexist.
Important throughput note: WireGuard on Asuswrt-Merlin requires NAT acceleration to be disabled. NAT acceleration is a hardware offload feature that boosts routing throughput on Asus routers — disabling it means all packet processing runs in software. On most Merlin hardware, this caps WireGuard throughput at roughly 300–350 Mbps regardless of the router’s theoretical maximum. If your primary concern is maximum VPN throughput, factor this ceiling into your hardware decision. For users on connections below 300 Mbps, it has no practical impact.
GL.iNet: WireGuard via the Admin Panel
GL.iNet routers provide the most accessible router VPN setup. The admin panel’s VPN section requires no command line access and no firmware knowledge. The following applies to GL.iNet firmware 4.x.
- Log into the GL.iNet admin panel at 192.168.8.1 (default address).
- Navigate to VPN → WireGuard Client.
- Click Add Manually to paste a configuration directly, or use the QR code import if your provider generates one. Most providers supply a downloadable
.conffile — paste its contents into the manual entry. - After adding the configuration, click the toggle to activate the VPN connection.
- Confirm the status shows Connected.
Kill switch on GL.iNet: navigate to VPN → VPN Dashboard → Global Options. On firmware 4.8 and later, there are two kill switch options:
- Tunnel Kill Switch — per-tunnel, enabled by default when the VPN is active. Blocks traffic through the specific tunnel if it drops.
- Enhanced Kill Switch — network-wide. Blocks all internet traffic from all devices if the VPN connection drops. Enable this for full protection.
On firmware earlier than 4.8, the option appears as Block Non-VPN Traffic under Global Options.
OpenWRT: WireGuard Client Setup
Requirements: OpenWRT 23.05 or 24.10 (both are stable releases). A router meeting the 8/64 minimum. SSH access is needed for package installation; subsequent configuration can be done via the LuCI web interface.
Step 1 — Install WireGuard packages
Connect via SSH and run:
opkg update
opkg install kmod-wireguard wireguard-tools luci-proto-wireguard
Package naming note: luci-proto-wireguard is the correct package name for both OpenWRT 23.05 and 24.10. The old name luci-app-wireguard was consolidated into luci-proto-wireguard in November 2022 — before 23.05 was released — and was removed entirely by April 2024. If you encounter older forum posts or guides referencing luci-app-wireguard, use luci-proto-wireguard instead.
After installation, reboot the router or run /etc/init.d/network restart.
Step 2 — Create the WireGuard interface in LuCI
Navigate to Network → Interfaces → Add new interface. Name it (for example, wg0) and select WireGuard VPN as the protocol.
In the interface configuration:
- Paste your private key (from your provider’s
.conffile). - Under IP Addresses, add the interface address from your provider’s configuration (typically the
Addressfield in the.conffile). - Listen port is not required for client mode — leave blank unless your provider specifies one.
Step 3 — Add the VPN server as a peer
Within the WireGuard interface settings, navigate to the Peers tab and click Add peer:
- Public key: the server’s public key from your provider’s configuration
- Endpoint host: the server IP address or hostname from your provider
- Endpoint port: typically 51820 for WireGuard; use whatever your provider specifies
- Allowed IPs: enter
0.0.0.0/0to route all traffic through the tunnel. For split routing at the network level, specify only the subnets you want tunnelled. - Persistent keepalive: set to
25seconds to maintain the connection through NAT
Step 4 — Configure firewall zones
Navigate to Network → Firewall → Zones. Add a new zone for the WireGuard interface (or add wg0 to an existing VPN zone):
- Input: Reject
- Output: Accept
- Forward: Reject
- Masquerading: Enabled
- MSS clamping: Enabled — enable this now rather than troubleshooting broken websites later. MSS clamping rewrites TCP segment sizes to fit the tunnel MTU and prevents the partial-page-load issue common with WireGuard on routers.
Add a forwarding rule from the lan zone to the WireGuard zone (Firewall → Forwarding → Add). This allows LAN traffic to route through the tunnel. Save and apply.
Step 5 — Configure DNS
Navigate to Network → DHCP and DNS. Under DNS forwardings, add your VPN provider’s DNS server address. Remove any ISP DNS entries to prevent DNS leaks. See the security hardening section below for more detail on this.
Policy-based routing: the luci-app-pbr package provides a LuCI interface for per-device and per-destination routing rules. Install it with opkg install luci-app-pbr if you want to route specific devices through the VPN while others connect directly. This is the most capable policy-based routing implementation of the four paths covered in this guide. See our split tunneling guide for the conceptual background.
DD-WRT: WireGuard via the Tunnels Interface
WireGuard support in DD-WRT has been available across many builds, with build 52242 the mandatory minimum and build 62911 or higher recommended for stability. WireGuard is included in standard DD-WRT v3 builds for capable hardware, but may be absent in minimal builds designed for resource-constrained devices.
Before starting, verify your build supports WireGuard: navigate to Setup → Tunnels. If the Tunnels tab is present and WireGuard appears as a protocol option when you click Add Tunnel, your build supports it. If the Tunnels tab is absent entirely, your current build does not include WireGuard and you will need to update to a more recent build.
Setting up WireGuard:
- Navigate to Setup → Tunnels → Add Tunnel.
- Select WireGuard as the tunnel type. DD-WRT uses the OET (OpenVPN Ethernet Tunnel) interface naming convention for WireGuard tunnels — the interface will appear as
oet1,oet2, and so on. - Enter your private key in the Private Key field.
- Set the Local IP Address to the interface address from your provider’s configuration file.
- Under Peers, click Add Peer and enter:
- The server’s public key
- The endpoint address and port
- Allowed IPs:
0.0.0.0/0to route all traffic - Persistent keepalive:
25
- Save settings and click Apply Settings.
- Check the tunnel status in the Tunnels section — look for a successful handshake to confirm the connection is live.
If your provider supplies a QR code for the WireGuard configuration, some recent DD-WRT builds support QR code import. Check the interface after selecting WireGuard as the protocol.
Security Hardening
A router VPN without these configurations provides an incomplete privacy guarantee. Complete all three before considering the setup done.
DNS and IPv6 Leak Protection
Two distinct leaks are possible on a router VPN setup. Both are invisible without testing, and both undermine the privacy the VPN is supposed to provide.
DNS leak: if your router’s DHCP server is advertising your ISP’s DNS resolvers to connected devices, DNS queries bypass the VPN tunnel and reach your ISP’s servers — even while the VPN connection is active. Your ISP sees the domain name of every site every device on your network visits. The VPN encrypts the traffic itself; the DNS requests travel outside it.
The fix: set the DNS server in your router’s DHCP settings to your VPN provider’s DNS address, or to a privacy-respecting resolver such as Cloudflare (1.1.1.1) or Quad9 (9.9.9.9). Remove any ISP DNS entries from the DHCP configuration. For a full explanation of how DNS leaks work, why they are hard to detect, and how to test for them, see our DNS leak guide.
IPv6 leak: most consumer router VPN setups route IPv4 traffic through the tunnel but do nothing with IPv6 traffic. If your ISP has enabled IPv6 on your connection — and most have — any device on your network that supports IPv6 sends its IPv6 traffic directly to the internet, bypassing the VPN entirely. Your real IPv6 address is visible to every site you connect to over IPv6.
The fix is to disable IPv6 on the WAN interface:
- Asus Merlin: Advanced Settings → IPv6 → Basic Config → Connection type: Disabled
- GL.iNet: Network → Interfaces → WAN → Advanced Settings → disable IPv6
- OpenWRT: Network → Interfaces → select WAN6 → Delete (or set protocol to Unmanaged)
- DD-WRT: Setup → IPv6 → IPv6 Support: Disabled
Disabling WAN IPv6 has no noticeable impact on browsing for the vast majority of users — essentially all web content remains accessible via IPv4. If you encounter any specific service that requires IPv6, re-enabling it temporarily is straightforward. Note that some VPN providers now support routing IPv6 traffic through the tunnel — if yours does, that is a cleaner solution than disabling IPv6 entirely. Check your provider’s documentation for IPv6 tunnel support before defaulting to the disable approach.
Kill Switch
A kill switch blocks all internet traffic if the VPN tunnel drops — closing the window between a dropout and reconnect where your real IP would otherwise be exposed. For a full explanation of how kill switches work and why they matter, see our VPN kill switch guide.
Implementation on each firmware path:
- Asus Merlin: within each VPN Client profile, enable the kill switch toggle in the connection settings.
- GL.iNet: VPN → VPN Dashboard → Global Options → enable Enhanced Kill Switch (firmware 4.8+). On earlier firmware: enable Block Non-VPN Traffic.
- OpenWRT: navigate to Network → Firewall → General Settings. Set the Forwarding default policy to Reject on the WAN zone. Traffic will only forward through the WireGuard zone. When the WireGuard interface is down, the WAN forward policy blocks all outgoing traffic.
- DD-WRT: requires an iptables script. Navigate to Administration → Commands. Add firewall rules that drop forwarding traffic on the WAN interface when the tunnel interface is not active. Save as a Firewall script. DD-WRT forums maintain tested scripts for this — search for the WireGuard kill switch script specific to your build version.
Policy-Based Routing (Selective Routing)
Policy-based routing lets you assign specific devices to route through the VPN while others connect directly to the WAN. A typical use case: route general browsing, streaming, and IoT devices through the VPN; route gaming consoles and banking-sensitive devices directly for lower latency and to avoid service blocks.
An Amazon Fire TV Stick is a common candidate for this kind of targeted rule — particularly on Vega OS devices where no VPN app can be installed directly on the stick itself, making a router-level routing rule the only way to selectively tunnel Firestick traffic. Assign the device a static DHCP lease, then create a matching rule in VPN Director (Asus Merlin), the LuCI PBR app (OpenWRT), or Policy Mode (GL.iNet). For the Firestick-specific context, including when this is the recommended path versus direct installation, see the Firestick VPN setup guide.
This is the router-level equivalent of what a VPN app calls split tunneling — routing decisions made at the network level rather than on each individual device. For the conceptual background, see our split tunneling guide.
Implementation by firmware:
- Asus Merlin (VPN Director): Advanced Settings → VPN → VPN Director. Add rules by source IP or CIDR subnet. Requires static DHCP leases for per-device rules — VPN Director routes by IP, not by MAC address.
- OpenWRT (LuCI PBR): install
luci-app-pbrvia opkg. Provides a GUI for per-IP and per-subnet routing rules. Most flexible implementation of the four paths. - GL.iNet: VPN → VPN Dashboard → Global Options → Proxy Mode → select Policy Mode. Add per-device rules using device IP addresses.
- DD-WRT: requires manual iptables rules combined with static IP assignments and routing table configuration. More involved than the other three paths — consult the DD-WRT wiki for your specific setup.
Verification
Before relying on the setup, confirm both of the following from a device on your network:
IP address check: visit ipleak.net from a browser. The IP address shown should match your VPN server’s location — not your real ISP address. If your real IP appears, the tunnel is not routing traffic correctly. Go back to the firewall zone configuration (OpenWRT/DD-WRT) or VPN client settings (Merlin/GL.iNet) and check that your LAN is forwarding through the VPN interface.
DNS leak test: on the same page at ipleak.net, the DNS servers listed should show your VPN provider’s resolvers or the private resolver you configured — not your ISP’s name. If your ISP appears in the DNS results, you have a DNS leak. Return to the DNS configuration step above and confirm the DHCP server is pointing to the correct resolver, then re-test. Our DNS leak guide covers the fix in detail.
Run a WebRTC leak test from a browser on the network as a third check: visit browserleaks.com/webrtc with the VPN active. A router VPN configured in full-tunnel mode captures all UDP traffic, which prevents WebRTC STUN requests from reaching external servers and exposing your real IP. If your real IP still appears in the WebRTC section, confirm the tunnel is set to route all traffic rather than split-tunnel mode. Our WebRTC leak guide explains what to look for in the results and how to interpret them.
If you configured policy-based routing, run both checks from a device that is assigned to the VPN and from a device that should be connecting directly — confirm both paths are working as intended.
Troubleshooting
| Problem | Likely Cause | Fix |
|---|---|---|
| VPN connects but no internet access on any device | Subnet conflict — your LAN (e.g., 192.168.1.x) and the VPN tunnel are using the same IP range | Change your router’s LAN subnet to 192.168.2.x or 10.0.0.x. VPN servers commonly use 10.x.x.x ranges — choose an LAN range your provider is unlikely to overlap with |
| DNS leaking to ISP despite VPN being connected | Router DHCP still advertising ISP DNS to devices | Set DHCP DNS to your VPN provider’s resolver or 1.1.1.1 / 9.9.9.9. Remove ISP DNS entries |
| Some websites partially load or show broken layouts | MTU mismatch — packets are too large for the tunnel and being fragmented or dropped | Set WireGuard interface MTU to 1420. Enable MSS clamping in the firewall (set TCP MSS to MTU minus 40, i.e., 1380). If on PPPoE, your base MTU is 1492 — set WireGuard MTU to 1412 and MSS to 1372 |
| IPv6 sites show your real IP address | IPv6 bypass — WAN IPv6 is active and not routed through the tunnel | Disable IPv6 on the WAN interface. See the DNS and IPv6 section above for per-firmware steps |
| VPN throughput far lower than expected | Router CPU bottleneck, or using OpenVPN instead of WireGuard | Switch to WireGuard if your firmware supports it. If already on WireGuard, the bottleneck is the router hardware — see the hardware class table above |
| All internet access blocked when VPN is not connected | Kill switch is active and working correctly | This is expected behaviour. Reconnect the VPN to restore internet access. If the VPN is failing to reconnect, check the tunnel configuration and endpoint reachability |
| WireGuard handshake not establishing | Key mismatch, or UDP traffic being blocked on the network | Verify the public and private keys are from the same key pair. If on a network that blocks UDP, try OpenVPN over TCP 443 instead |
| DD-WRT WireGuard option not available | Build does not include WireGuard — present in standard builds but absent from minimal builds | Check for the Tunnels tab under Setup. If absent, update to a standard DD-WRT build — build 52242 is the mandatory minimum; build 62911+ is recommended |
| High ping or unstable latency under load | Bufferbloat — router queue management not keeping up under VPN load | On OpenWRT: install and configure SQM (Smart Queue Management) via the luci-app-sqm package. SQM stabilises latency under load by controlling packet queuing. Not available on GL.iNet or DD-WRT without custom configuration |
| Specific devices showing real IP despite VPN being active | Policy-based routing is misconfigured, or device IP has changed and no longer matches a routing rule | Verify static DHCP leases for affected devices. Check VPN Director (Merlin), PBR rules (OpenWRT), or Proxy Mode (GL.iNet) to confirm the device IP matches an active rule |
Firmware at a Glance
Not sure which path to take? This table summarises the key differences to help you decide before investing time in any one approach.
| OpenWRT | DD-WRT | Asus Merlin | GL.iNet | |
|---|---|---|---|---|
| Setup complexity | High — command line required for packages | Medium — web UI, but kill switch needs scripting | Low — familiar web interface, no flashing | Very low — purpose-built VPN UI |
| WireGuard support | Native via package (23.05+) | Standard builds (build 52242+); absent in minimal builds | Native since firmware 388.1 | Native in all current models |
| Policy-based routing | Best — LuCI PBR app, GUI-based | Manual iptables rules | Excellent — VPN Director with CIDR support | Good — Policy Mode in VPN Dashboard |
| Kill switch | Manual firewall rule (forward policy: Reject) | Manual iptables script | Toggle in VPN Client settings | Toggle in admin panel (Enhanced Kill Switch in 4.8+) |
| Hardware requirement | 8/64 minimum; check supported device list | 8/64 minimum; check supported device list | Compatible Asus hardware only | GL.iNet hardware only |
| Firmware update cadence | Very frequent — active community | Slower — less frequent major releases | Regular — follows Asus stock firmware cycle | Automated updates available |
| Best for | Enthusiasts who want maximum control on any hardware | Users with older or enthusiast hardware, comfortable with some scripting | Asus router owners who want clean, supported VPN without buying new hardware | Non-technical users, travel routers, anyone who wants the simplest possible setup |
Frequently Asked Questions
Does a VPN on a router protect every device on my network?
Yes — every device that connects through the router routes its traffic through the VPN tunnel, including devices that cannot run a VPN app themselves — smart TVs, gaming consoles, IoT devices, and Amazon Fire TV Sticks on Vega OS where direct VPN installation is not available. For the Firestick-specific setup path, see the Firestick VPN setup guide. The one exception is if you have configured policy-based routing to exclude specific devices. Those excluded devices connect directly to the internet outside the tunnel.
Will a router VPN slow down my internet?
It depends on your router hardware and the protocol you use. A budget router on a gigabit connection will see a significant throughput reduction. A mid-range or high-end router using WireGuard can handle a typical household’s traffic without a noticeable bottleneck. The hardware class table above gives a realistic framework for expectations. Using OpenVPN instead of WireGuard will reduce throughput further — WireGuard’s kernel-space implementation makes a meaningful difference on constrained router hardware.
Do I need to flash my router to use a VPN on it?
Not necessarily. GL.iNet routers ship with a native VPN client UI that requires no firmware changes. Asus routers running Asuswrt-Merlin (a drop-in enhanced firmware) support WireGuard and OpenVPN clients. Some stock Asus firmware also includes a basic VPN client — check your router’s Advanced Settings for a VPN section. Most stock ISP-provided routers do not support VPN client mode and would require either firmware replacement or a second router in front of the network.
What is the best firmware for a VPN router in 2026?
It depends on your starting point. If you have a supported Asus router, Asuswrt-Merlin is the cleanest path — no hardware purchase, clean UI, strong VPN Director for per-device routing. If you want the most flexibility on a wide range of hardware, OpenWRT is the most capable and actively maintained option. If you want the simplest possible setup and are open to buying hardware, GL.iNet is the most accessible. DD-WRT is the right choice if you have older hardware and are comfortable with some manual configuration.
Do I need a kill switch on a router VPN?
Yes, and it is easier to enable at the router level than on individual devices. When the VPN tunnel drops and reconnects — which happens periodically on any connection — there is a window where traffic routes over your real IP. A kill switch closes that window by blocking all traffic until the tunnel is re-established. On Asus Merlin and GL.iNet, it is a single toggle. On OpenWRT, it is a firewall policy setting. The kill switch guide covers how it works and how to test that it is functioning correctly.
How do I stop IPv6 from leaking through my router VPN?
Disable IPv6 on the WAN interface. The steps vary by firmware — see the DNS and IPv6 section above for the specific path on each. Once WAN IPv6 is disabled, all traffic routes over IPv4 through the tunnel. IPv4 covers virtually all web content, so this has no practical impact on most users’ browsing. Verify the fix by re-running the DNS leak test at ipleak.net after disabling — look for the absence of an IPv6 address in the results.
Can I use split tunneling on a router VPN?
Yes, through policy-based routing — the router-level equivalent of app-based split tunneling. You specify which devices or IP ranges route through the VPN and which connect directly to the WAN. The implementation quality varies by firmware: VPN Director on Asus Merlin and the LuCI PBR app on OpenWRT are the most capable options. The underlying concept is the same as device-level split tunneling — our split tunneling guide covers the trade-offs and when selective routing is the right choice.